2.3 Create EC2 Instance
Overview
In this step, we will create an EC2 Instance to simulate a web store application. This section covers creating the EC2 Instance and setting up the environment for the application, including:
- Python environment
- PostgreSQL environment
- Git environment
- Installing required libraries for the application
Create Elastic Compute Cloud (EC2) Instance
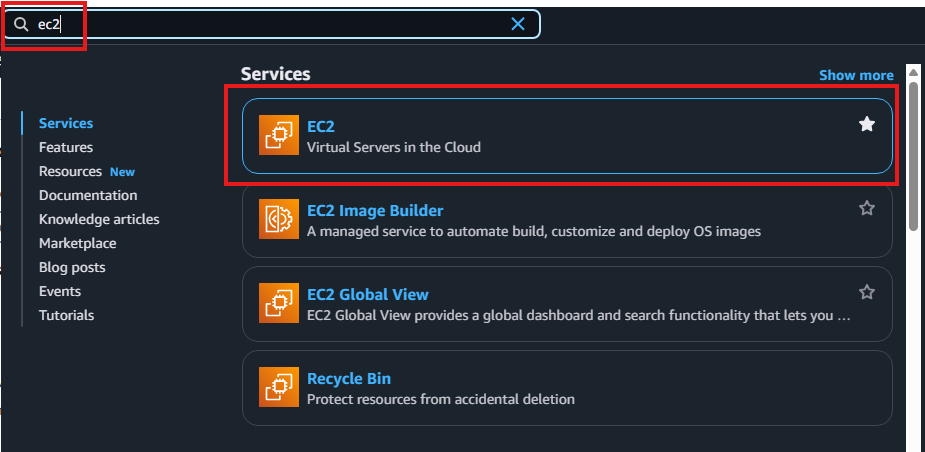
- Access the Amazon Management Console
- Search for the EC2 service
- Select EC2 from the search results
- Select Launch Instance

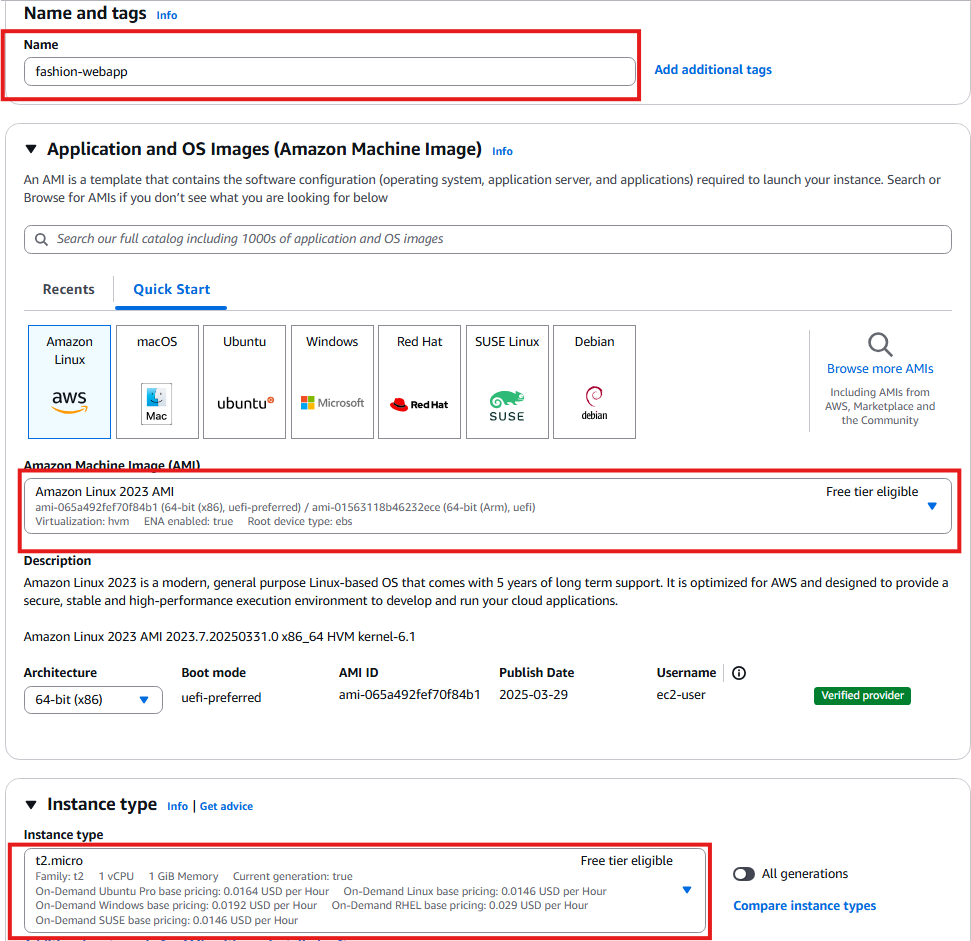
- In the Launch Instance interface:
- Name:
fashion-webapp - Amazon Machine Image (AMI):
Amazon Linux 2023 AMI - Instance Type:
t2.micro
- Name:
In the Key pair section, select Create new key pair
- Key pair name:
fashion-keypair - Key pair type:
RSA, private key file format:.pem - Click Create key pair
- Key pair name:
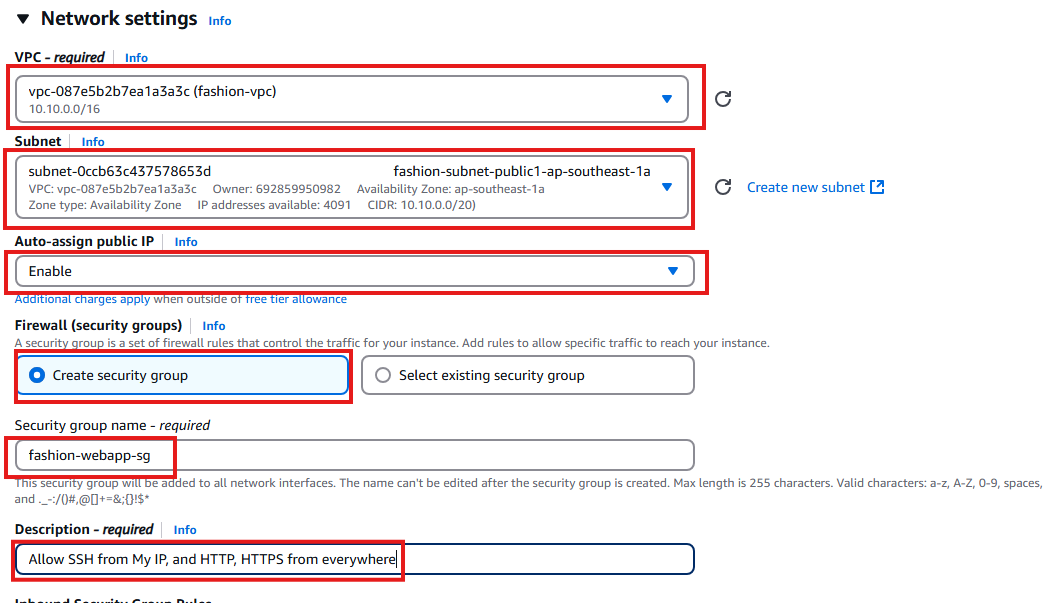
In the Network Settings section, click Edit:
- VPC:
fashion-vpc - Subnet:
fashion-subnet-public1-ap-southeast-1a - Auto-assign Public IP:
Enable - For Security Group, select Create security group
- Security group name:
fashion-webapp-sg - Description:
Allow SSH from My IP, and HTTP, HTTPS from everywhere
- Security group name:
- VPC:
- In Inbound Security Group Rules, configure as shown below
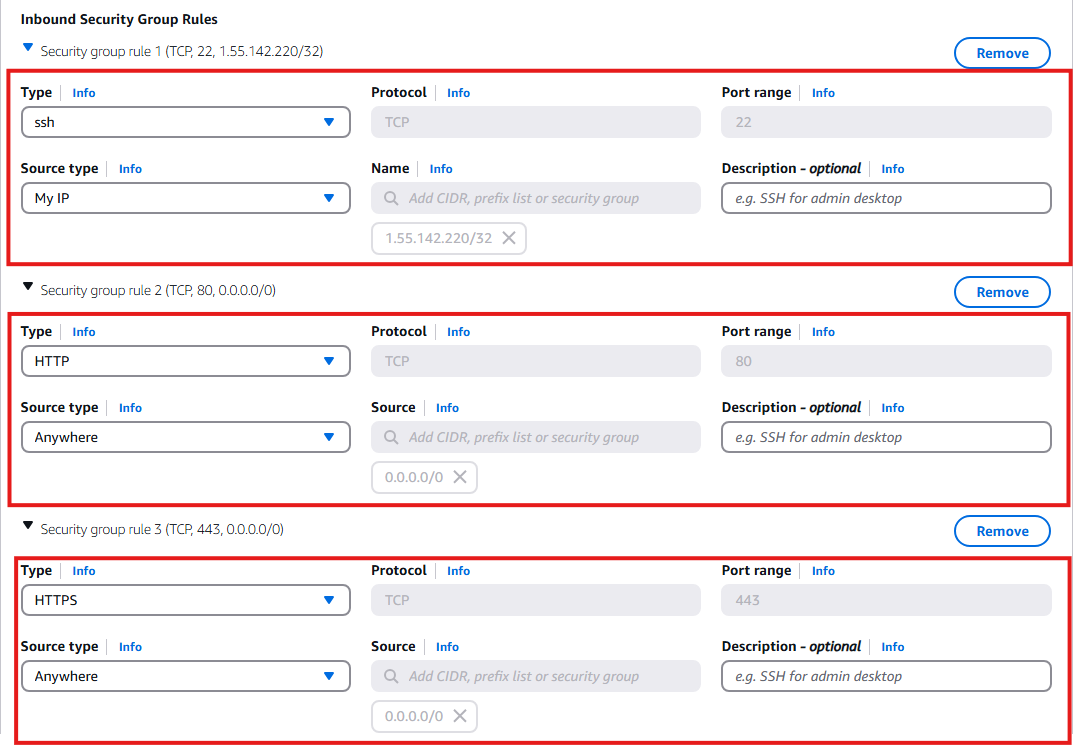
- Leave the remaining settings as default, and click Launch instance to complete the EC2 Instance creation
Set Up the Environment Inside the EC2 Instance
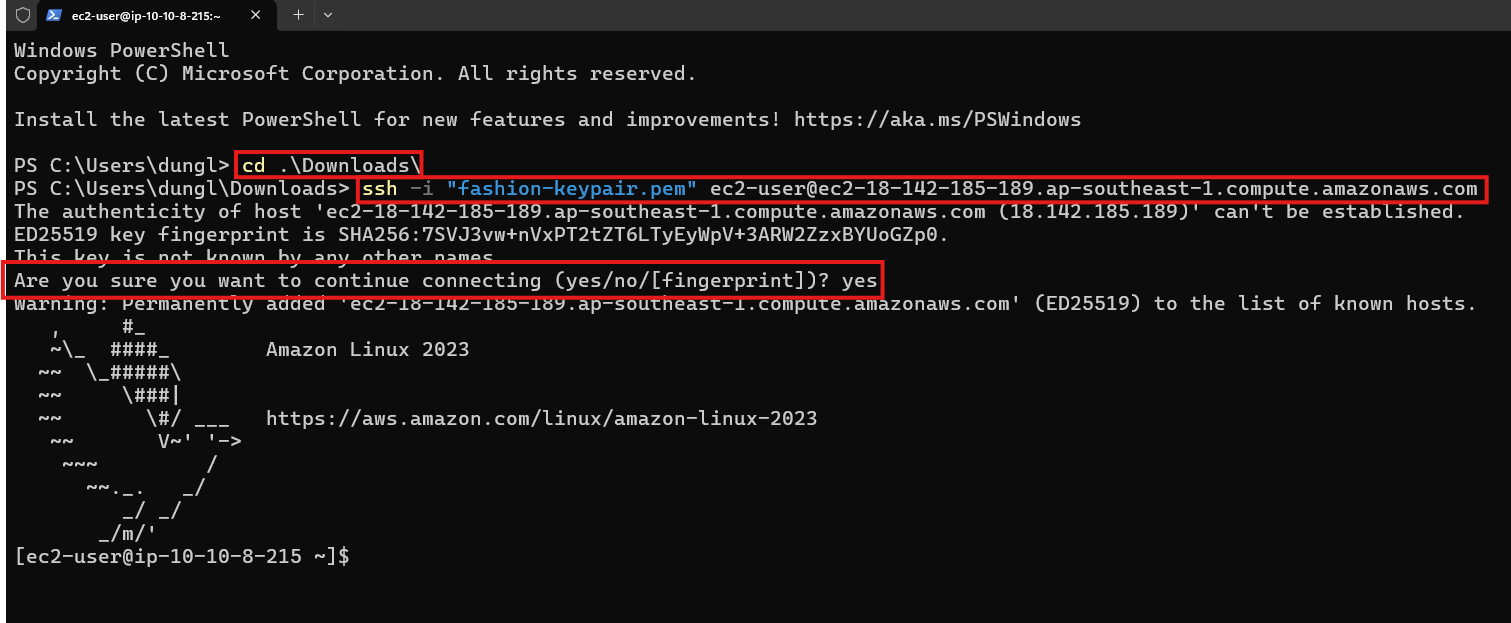
- Connect to the EC2 Instance via SSH
- Navigate to the directory containing the
fashion-keypair.pemfile - Use the terminal and run the following command:
ssh -i fashion-keypair.pem ec2-user@<Public IP | Public DNS> - Type ‘yes’ when prompted
- If you cannot connect, check if your Security Group allows SSH from your IP address
- Navigate to the directory containing the
- Install Python, Git, and PostgreSQL environments on the EC2 Instance
- First, run
sudo suto switch to the root user - Install the necessary packages (this process takes about 5-10 minutes):
dnf install -y git tar gcc \
                   zlib-devel bzip2-devel readline-devel \
                   sqlite sqlite-devel openssl-devel \
                   tk-devel libffi-devel xz-devel

curl https://pyenv.run | bash && \
    echo 'export PYENV_ROOT="$HOME/.pyenv"' >> ~/.bashrc && \
    echo '[[ -d $PYENV_ROOT/bin ]] && export PATH="$PYENV_ROOT/bin:$PATH"' >> ~/.bashrc && \
    echo 'eval "$(pyenv init -)"' >> ~/.bashrc && \
    source ~/.bashrc && \
    pyenv install 3.12.4 && \
    pyenv global 3.12.4

sudo yum install postgresql17-server.x86_64 -y- Check the installed Python version
python --version- Check the installed PostgreSQL version
psql --version- Clone the repository from GitHub to the EC2 Instance
git clone --sparse --filter=blob:none https://github.com/ltdungg/aws-fashion-data-pipeline.git project
cd project
git sparse-checkout init
git sparse-checkout set ec2
cd ec2- Install the required libraries
pip install -r requirements.txtAttach Role to EC2 for Writing to Kinesis Data Stream
- In the EC2 Instances interface, click on
fashion-webapp, select Actions, Security, Modify IAM role.
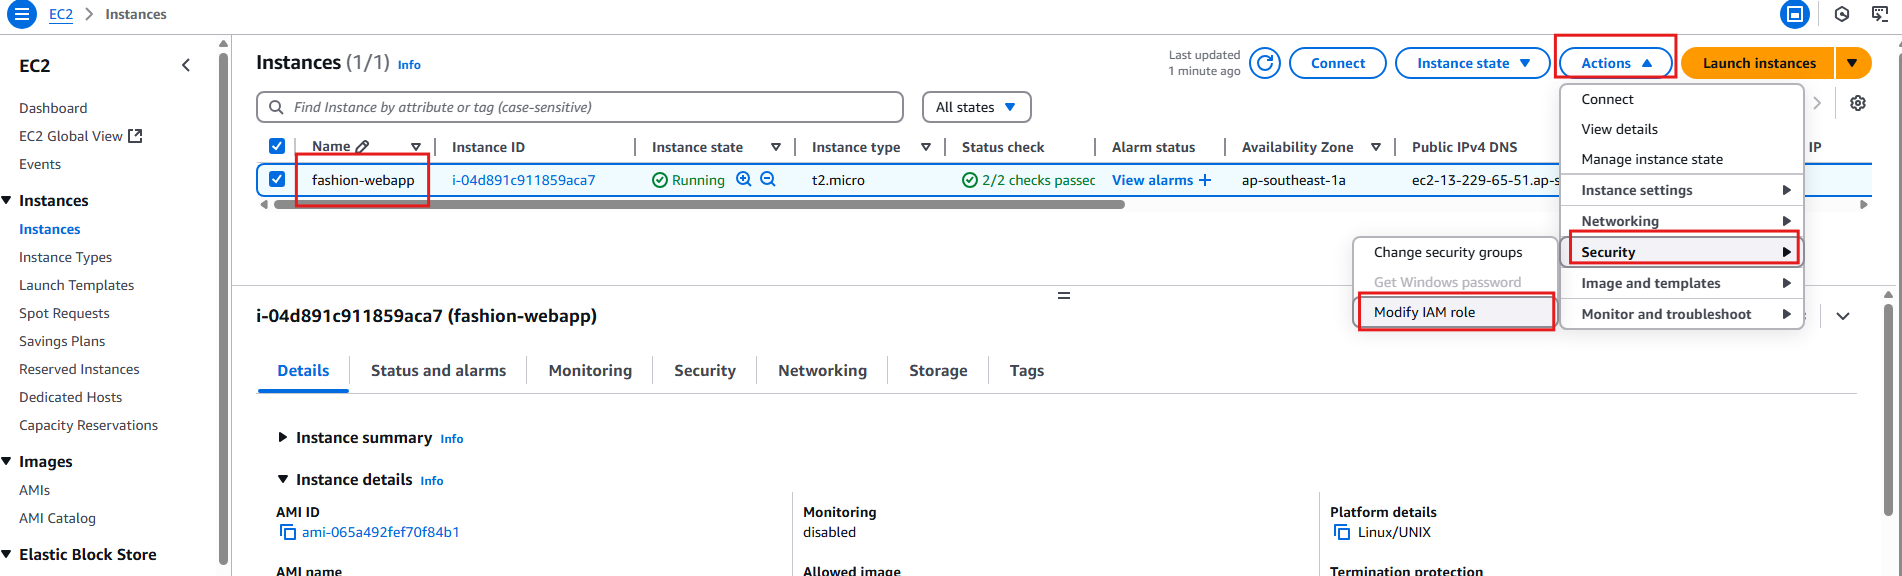
- Select the
ec2-kinesis-rolethat we created earlier.

- Click Update IAM role.